Creating a Virtual Encrypted Disk: Ready for use! |
|
Creating a Virtual Encrypted Disk: Ready for use! |
|
After Encryptability is done creating the Virtual Encrypted Disk, you can start using it right away:
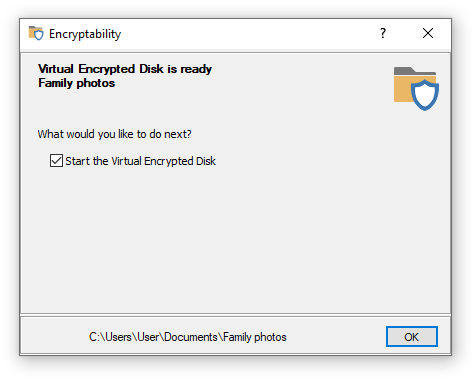
If you select the option to Start the Virtual Encrypted Disk, after verifying your password, Encryptability would start the Virtual Encrypted Disk and assign a drive letter to it, as if you would have attached a separate storage device to the computer. The Virtual Encrypted Disk you've just created would be initially empty: it would contain no files or folders. You can start moving or copying the files and folders that you want to be encrypted into the Virtual Encrypted Disk, using the usual tools provided by Windows, such as drag-and-drop. You are also free to use any third party file manager (such as our AB Commander ![]() ) to copy the files into the Virtual Encrypted Disk. After that you can work with your encrypted files in the same way as you would with the regular files: you can rename or move them, open or delete them, create new folders or delete the existing ones - all such operations are completely supported by Encryptability.
) to copy the files into the Virtual Encrypted Disk. After that you can work with your encrypted files in the same way as you would with the regular files: you can rename or move them, open or delete them, create new folders or delete the existing ones - all such operations are completely supported by Encryptability.
When you are done working with the files inside of the Virtual Encrypted Disk, it's time to make them protected. You do that by stopping the Virtual Encrypted Disk, using any tool offered by Encryptability: the menu of the Encryptability taskbar button, or by running Encryptability from the Start menu and selecting the Stop Virtual Encrypted Disk command.
After you've stopped a Virtual Encrypted Disk, all files you've placed in it become completely inaccessible until next time you enter the password while starting the Virtual Encrypted Disk.